因为工作中开发微微小程序时候遇到问题,模拟器测试无误,真机就是无法访问服务,后来查阅API文档得知微信小程序必须是https请求才可以进行相关访问,下面是官方API文档中的简述

但是由于之前不怎么了解这个转化的配置过程,所以小白的我只能从最基础的本地测试开始练手,下面是网上扒的教程,亲测有效,做一下记录以备不时之需,话不多说,看下面干货。
1、新生成一个密钥库
keytool -genkeypair -alias bendiceshi -keyalg RSA -validity 36500 -storepass 123456 -keystore ./test.keystore -v
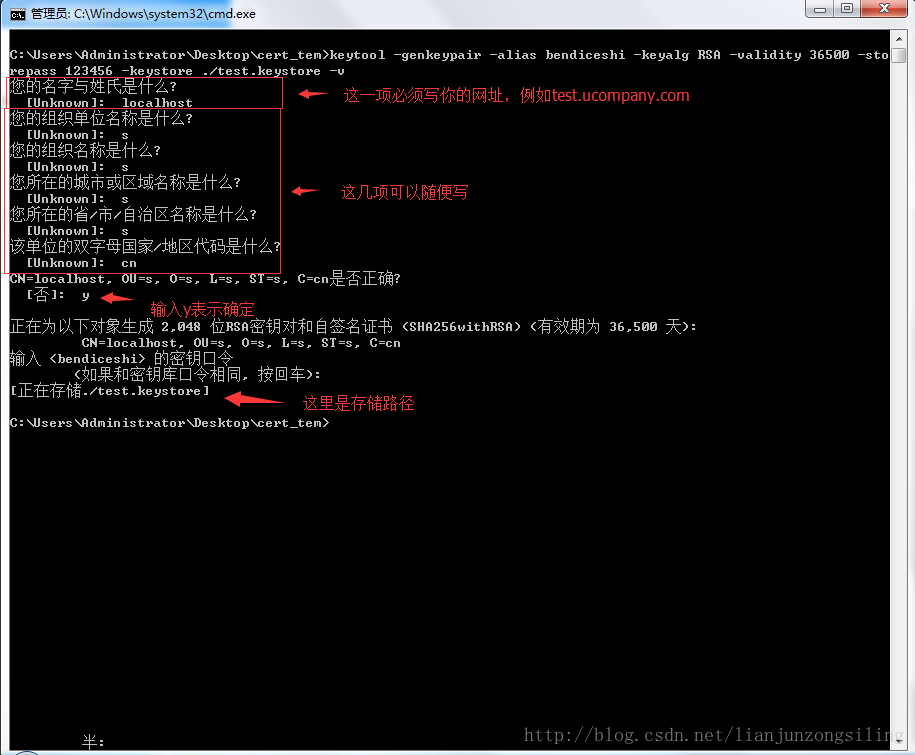
第一项必须写你测试用的网址,这里我写的是 localhost 。至于图中提示的密钥口令,没什么用,就是将来访问那条密钥时要输入的口令,直接回车就行
2、向已存在密钥库添加新密钥
keytool -genkeypair -alias bendiceshi_ip -keyalg RSA -validity 36500 -keystore ./test.keystore -v
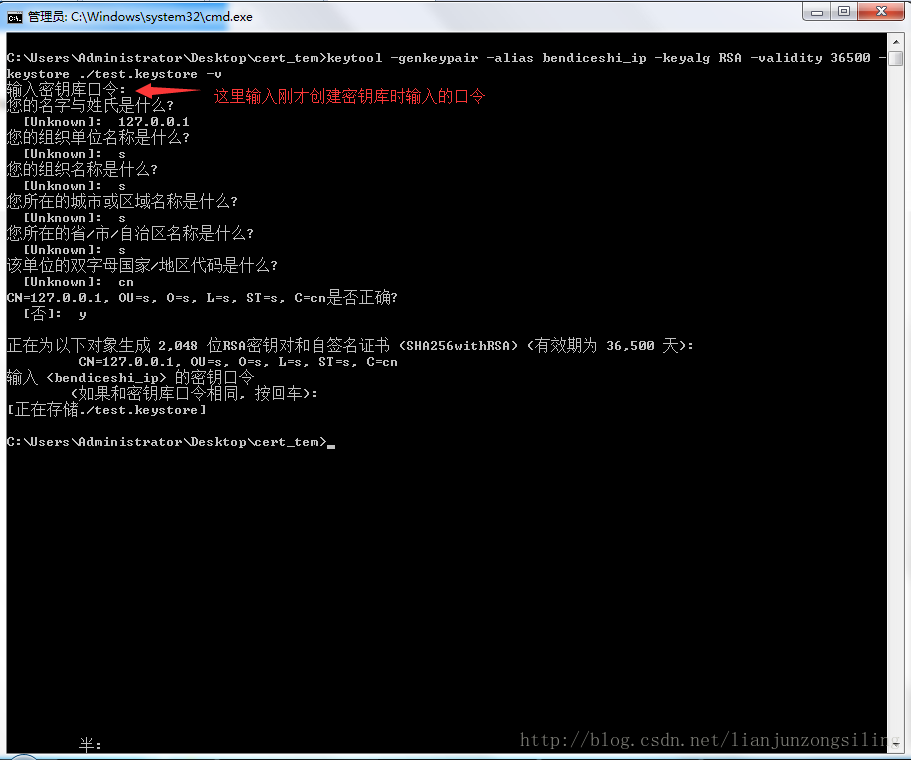
已存在的密钥库添加了一个新密钥,在这两次操作里我分别写了localhost和127.0.0.1,等下会分别访问这两个网址。
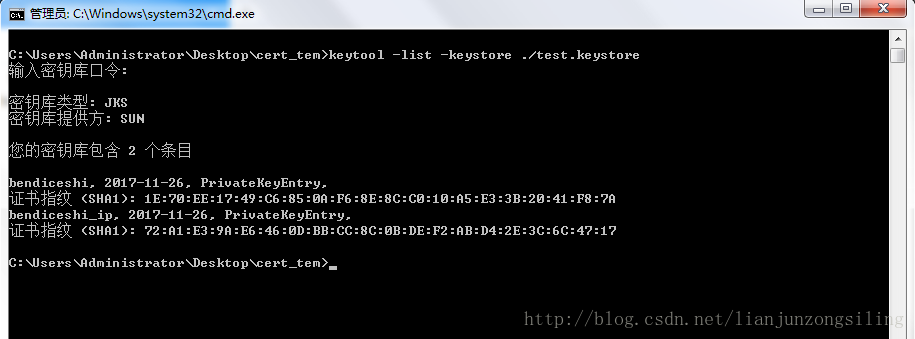
3、查看密钥库中的项
keytool -list -keystore ./test.keystore
keytool -list -keystore ./test.keystore -v
4、导出证书
keytool -exportcert -alias bendiceshi -file ./bendiceshi.cer -storepass 123456 -keystore ./test.keystore -v
keytool -exportcert -alias bendiceshi_ip -file ./bendiceshi_ip.cer -storepass 123456 -keystore ./test.keystore -v

-alias bendiceshi:要导出的证书的名字,即刚才创建的密钥的名字,即keytool -list时显示的名字
-file ./bendiceshi.cer:要导出的证书的存储位置,这里我放在当前目录下
-keystore ./test.keystore:刚才创建的密钥库的位置
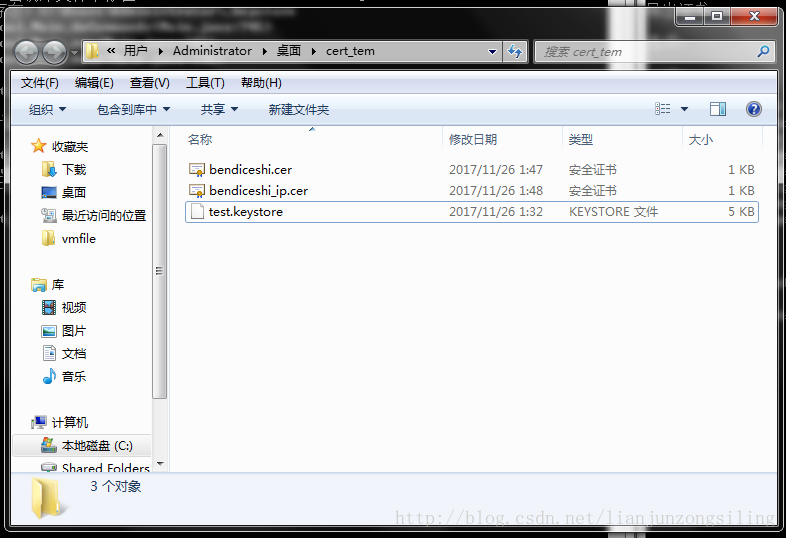
上述所有步骤所生成的3个文件如下
5、copy密钥库文件
将刚才生成的密钥库文件copy到你tomcat的conf目录,跟server.xml同级。注意:这里一定要放在你实际运行的tomcat的conf目录下。 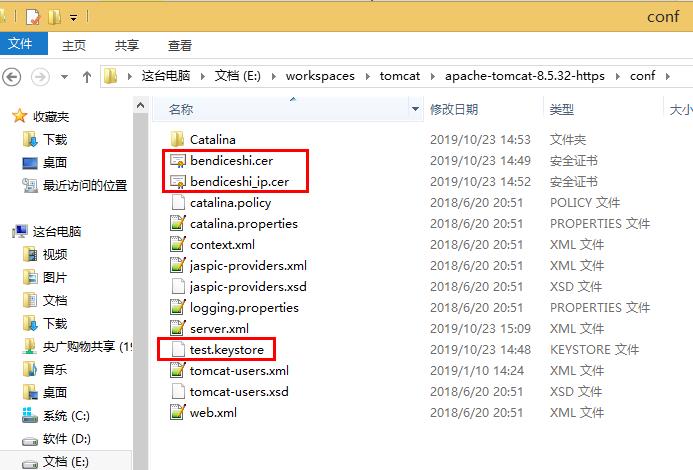
6、修改tomcat配置文件
<!--老版本tomcat的配置,在tomcat8下测试成功-->
<Connector connectionTimeout="20000" port="80" protocol="HTTP/1.1" redirectPort="443"/>
<Connector port="443" protocol="org.apache.coyote.http11.Http11NioProtocol"
maxThreads="150" SSLEnabled="true" scheme="https" secure="true"
clientAuth="false" sslProtocol="TLS" keystoreFile="/conf/test.keystore"
keystorePass="123456"/>
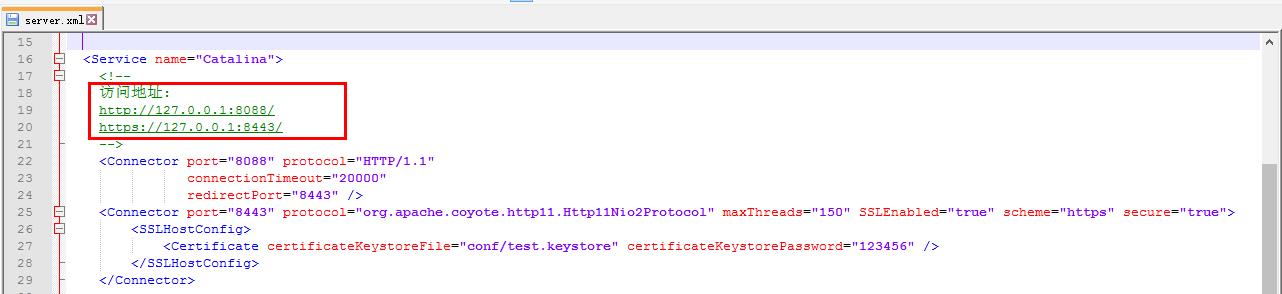
<!--新版本tomcat的配置,在tomcat9下测试成功-->
<Connector connectionTimeout="20000" port="80" protocol="HTTP/1.1" redirectPort="443" />
<Connector port="443" protocol="org.apache.coyote.http11.Http11Nio2Protocol" maxThreads="150" SSLEnabled="true" scheme="https" secure="true">
<SSLHostConfig>
<Certificate certificateKeystoreFile="conf/test.keystore" certificateKeystorePassword="123456" />
</SSLHostConfig>
</Connector>
要修改的配置文件是tomcat的server.xml文件。仔细看上面的配置,第一个Connector是默认就有的,
这里只是把8080端口改成了公认的80端口,把8443端口改成了公认的443端口。
第二个Connector默认是注释掉的,搜索8443就能找到,直接把上述第二个Connector粘贴到server.xml中第一个Connector的下面,
方便管理。keystoreFile=”/conf/test.keystore”就是刚才copy的文件的位置,
可以自己改到其他位置。keystorePass=”123456”就是刚才创建密钥库时使用的口令。
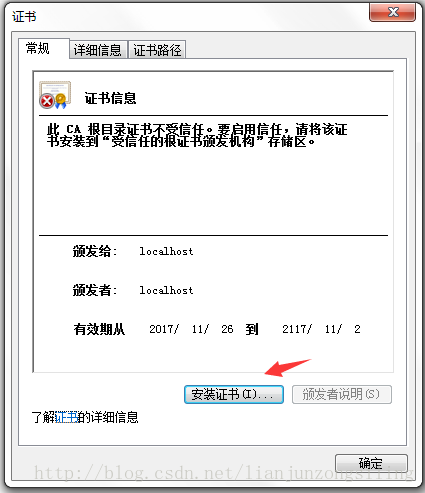
7、启动tomcat,做收尾工作
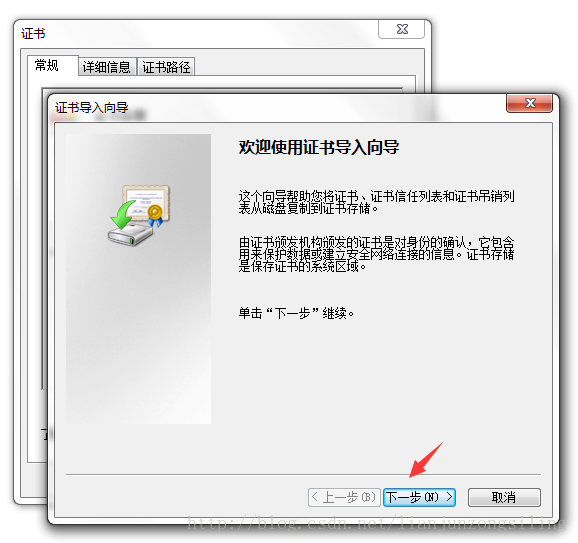
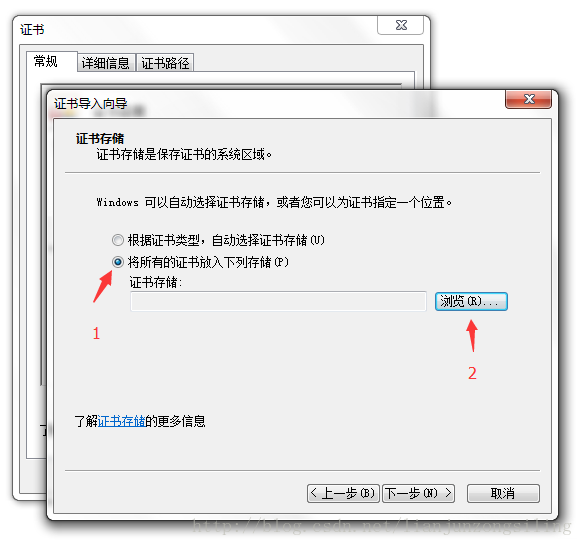
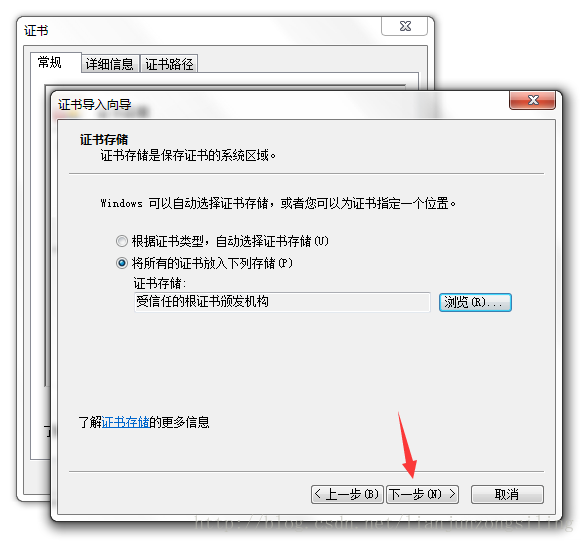
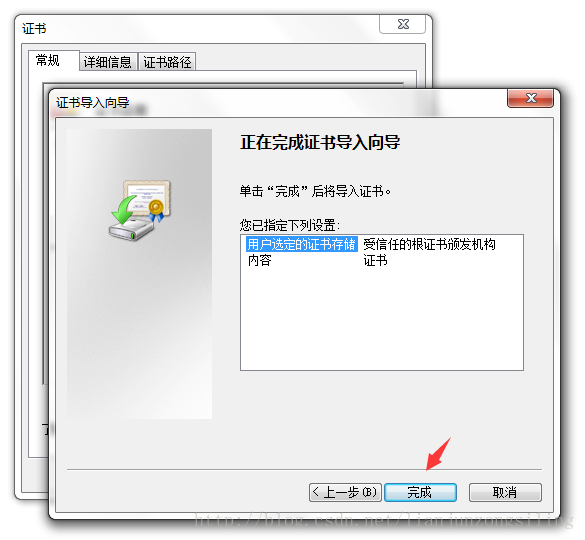
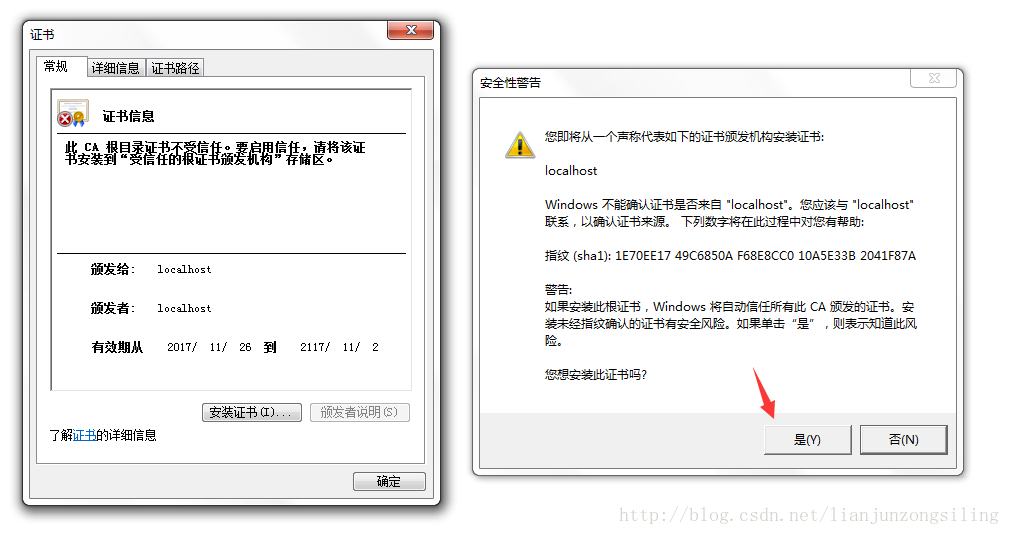
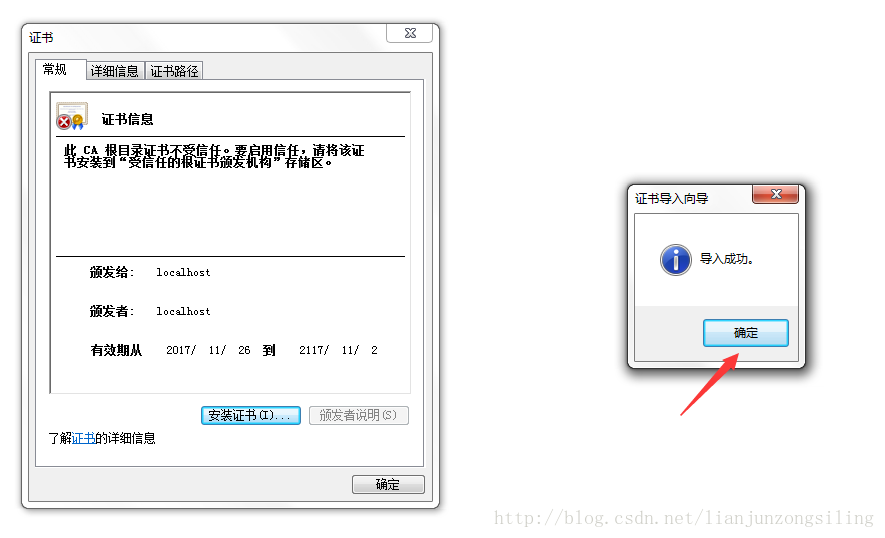
这是因为刚才制作的证书不是买的,所以浏览器无法认证,此时只需要将刚才导出的两个证书,也就是bendiceshi.cer和bendiceshi_ip.cer导入windows系统就行,双击证书,如下


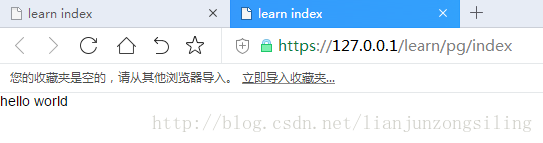
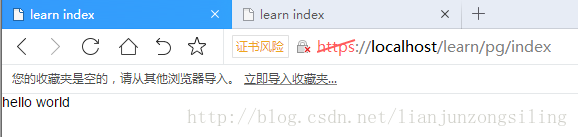
现在不管是新版本chrome还是火狐,对自签证书都会报错,而且暂时百度不到解决办法,只能捏着鼻子将就着用,ie11不报错,edge没测试。
ps:测试报错新版本chrome主版本为:63
测试不报错旧版本chrome主版本为:55
所以强迫症们,如果忍受不了https旁边大大的红色,装个低版本的chrome进行开发吧。
8、配置http请求自动转为https请求
修改与server.xml的同级文件web.xml,在<web-app>标签下添加字标签(即与<welcome-file-list>同一级子标签),具体内如如下
<login-config>
<auth-method>CLIENT-CERT</auth-method>
<realm-name>Client Cert Users-only Area</realm-name>
</login-config>
<security-constraint>
<web-resource-collection >
<web-resource-name >SSL</web-resource-name>
<url-pattern>/*</url-pattern>
</web-resource-collection>
<user-data-constraint>
<transport-guarantee>CONFIDENTIAL</transport-guarantee>
</user-data-constraint>
</security-constraint>

最后
以上就是神勇鞋子最近收集整理的关于http请求转化https请求的全部内容,更多相关http请求转化https请求内容请搜索靠谱客的其他文章。


发表评论 取消回复